Page 1 of 2 12 LastLast
Results 1 to 10 of 16

Thread: TRD2000GT Replica Germany

  1. #1

    TRD2000GT Replica Germany

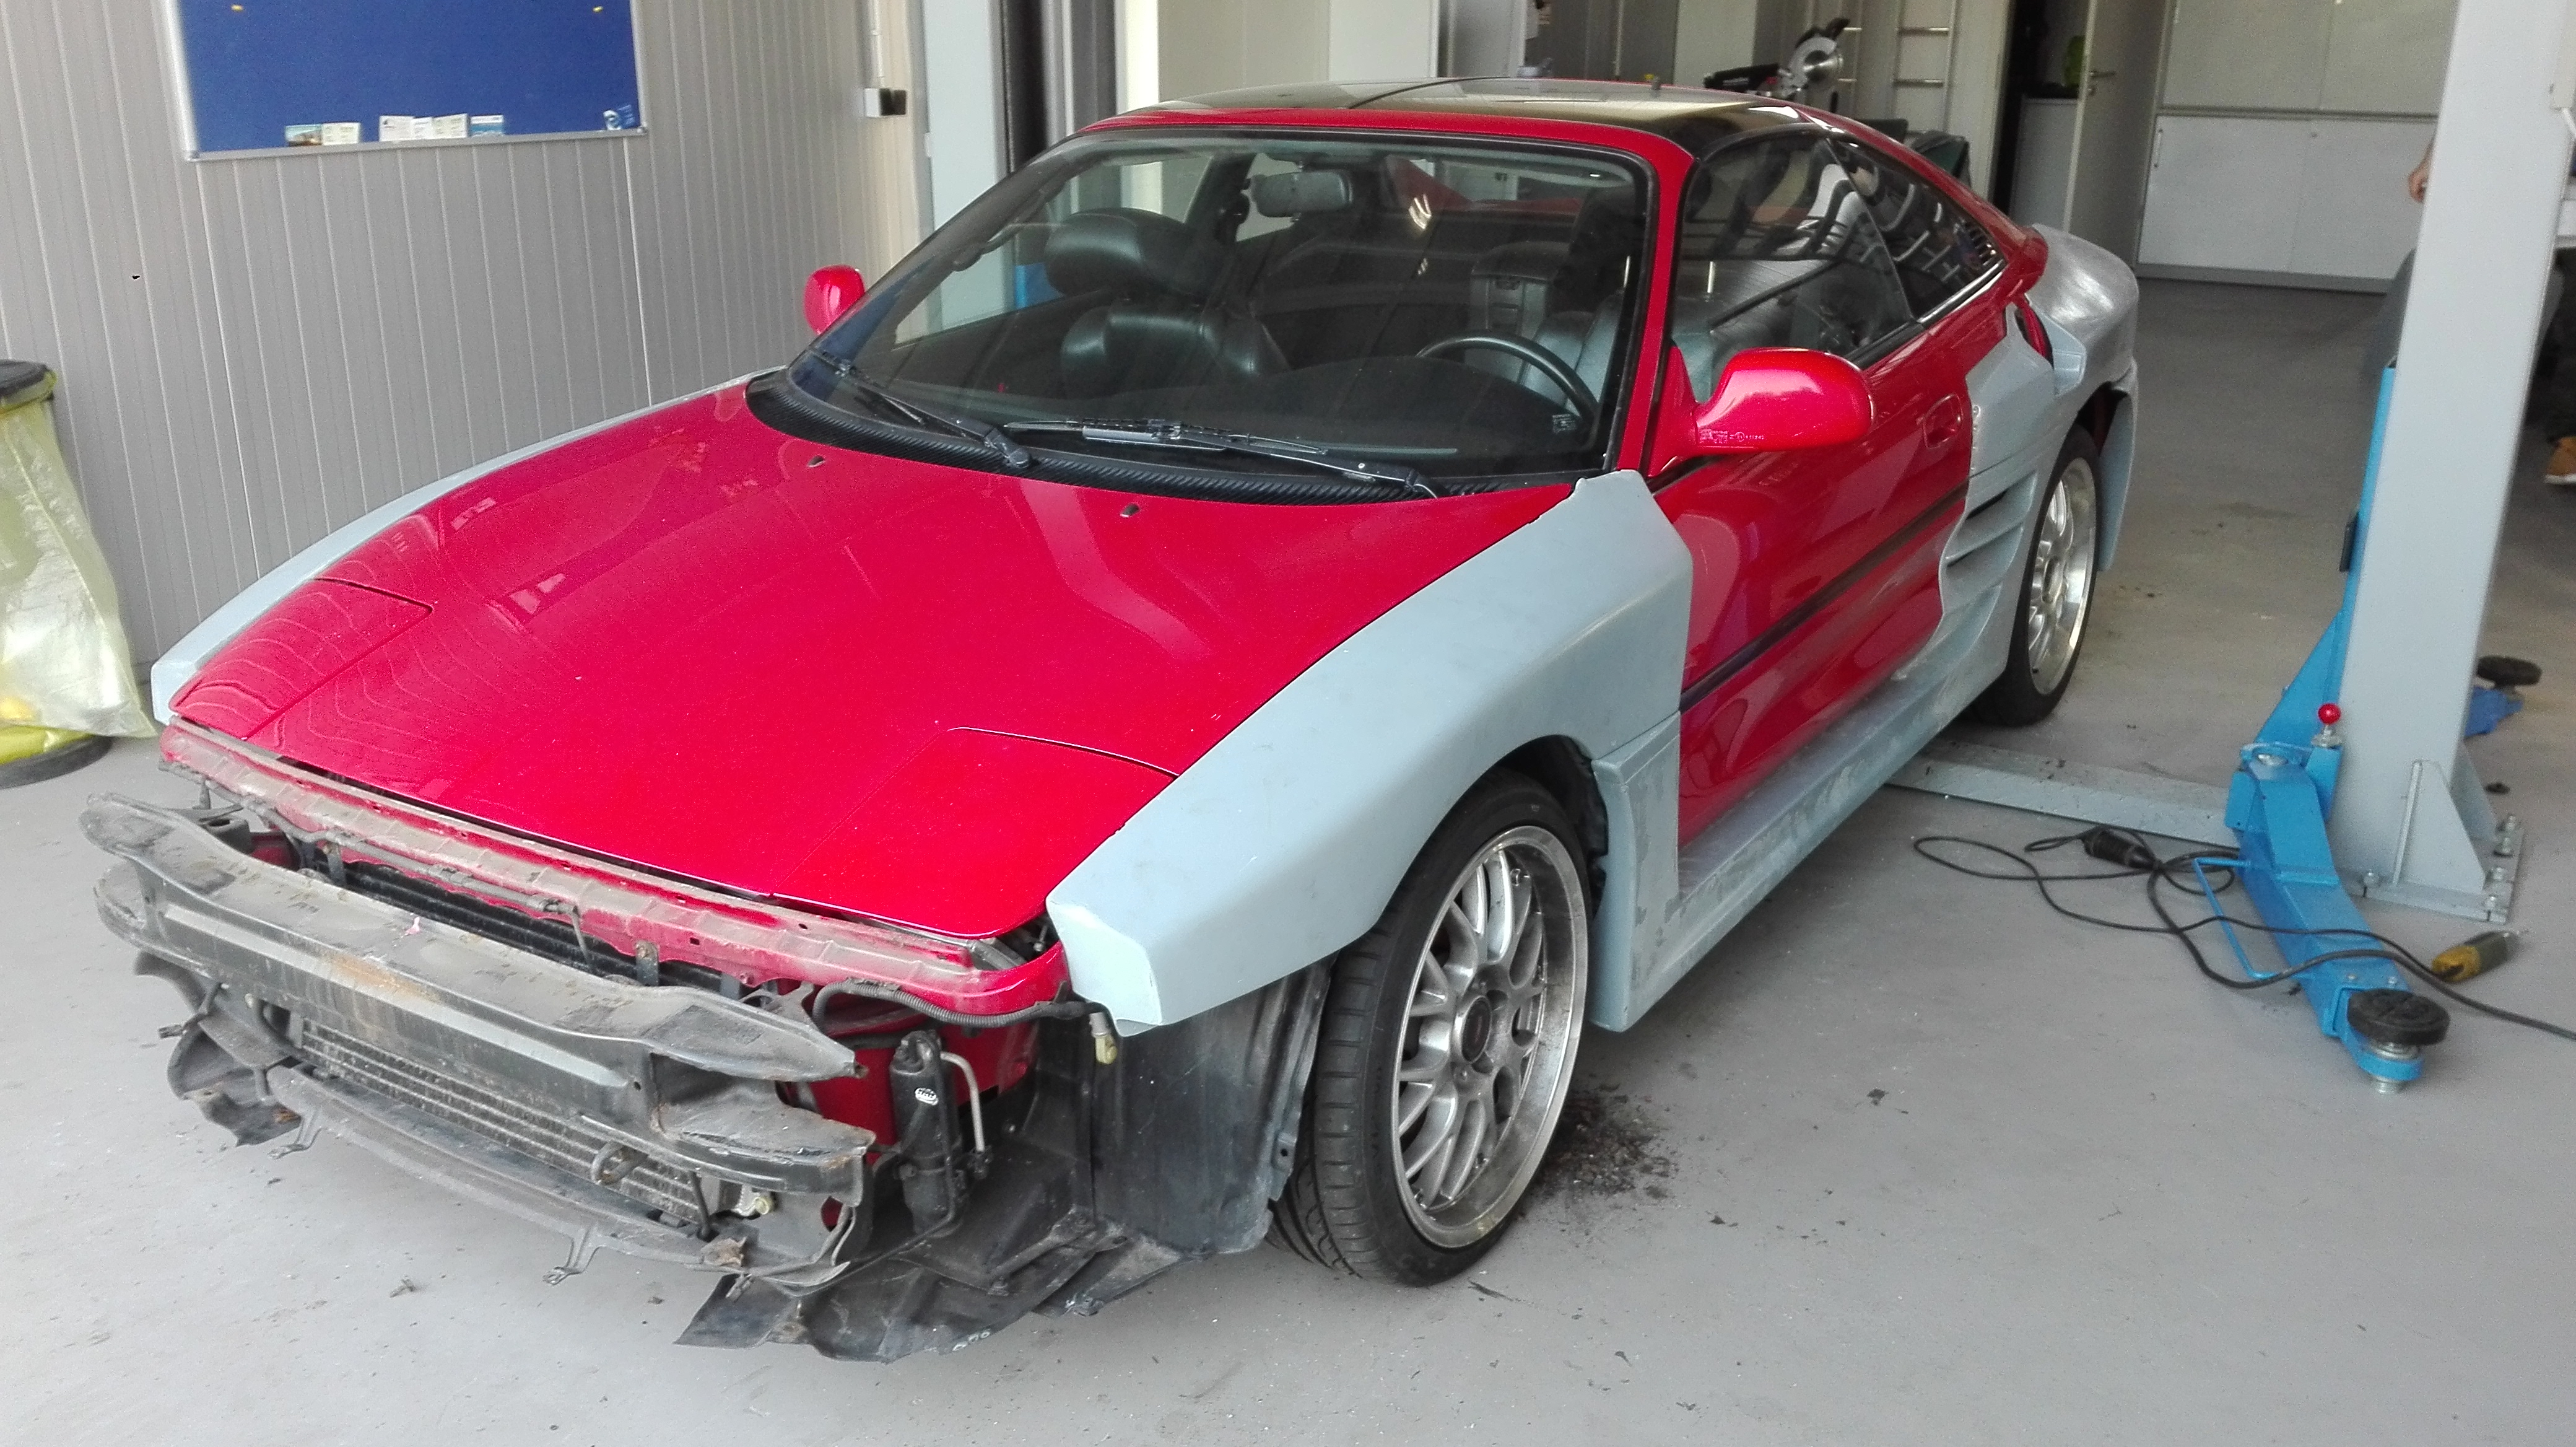
    This is about a TRD replica based on a Kit made by patrick (headcase)

    A while ago i built a V6 conversion with TRD Supercharger, but as i just love the Power of a Turbo i sold all this and bought an 1995 MR2 Turbo just for the swap.
    http://www.twobrutal.co.uk/forum/sho...n-from-Germany


    So here's my MR2 with supercharged V6:


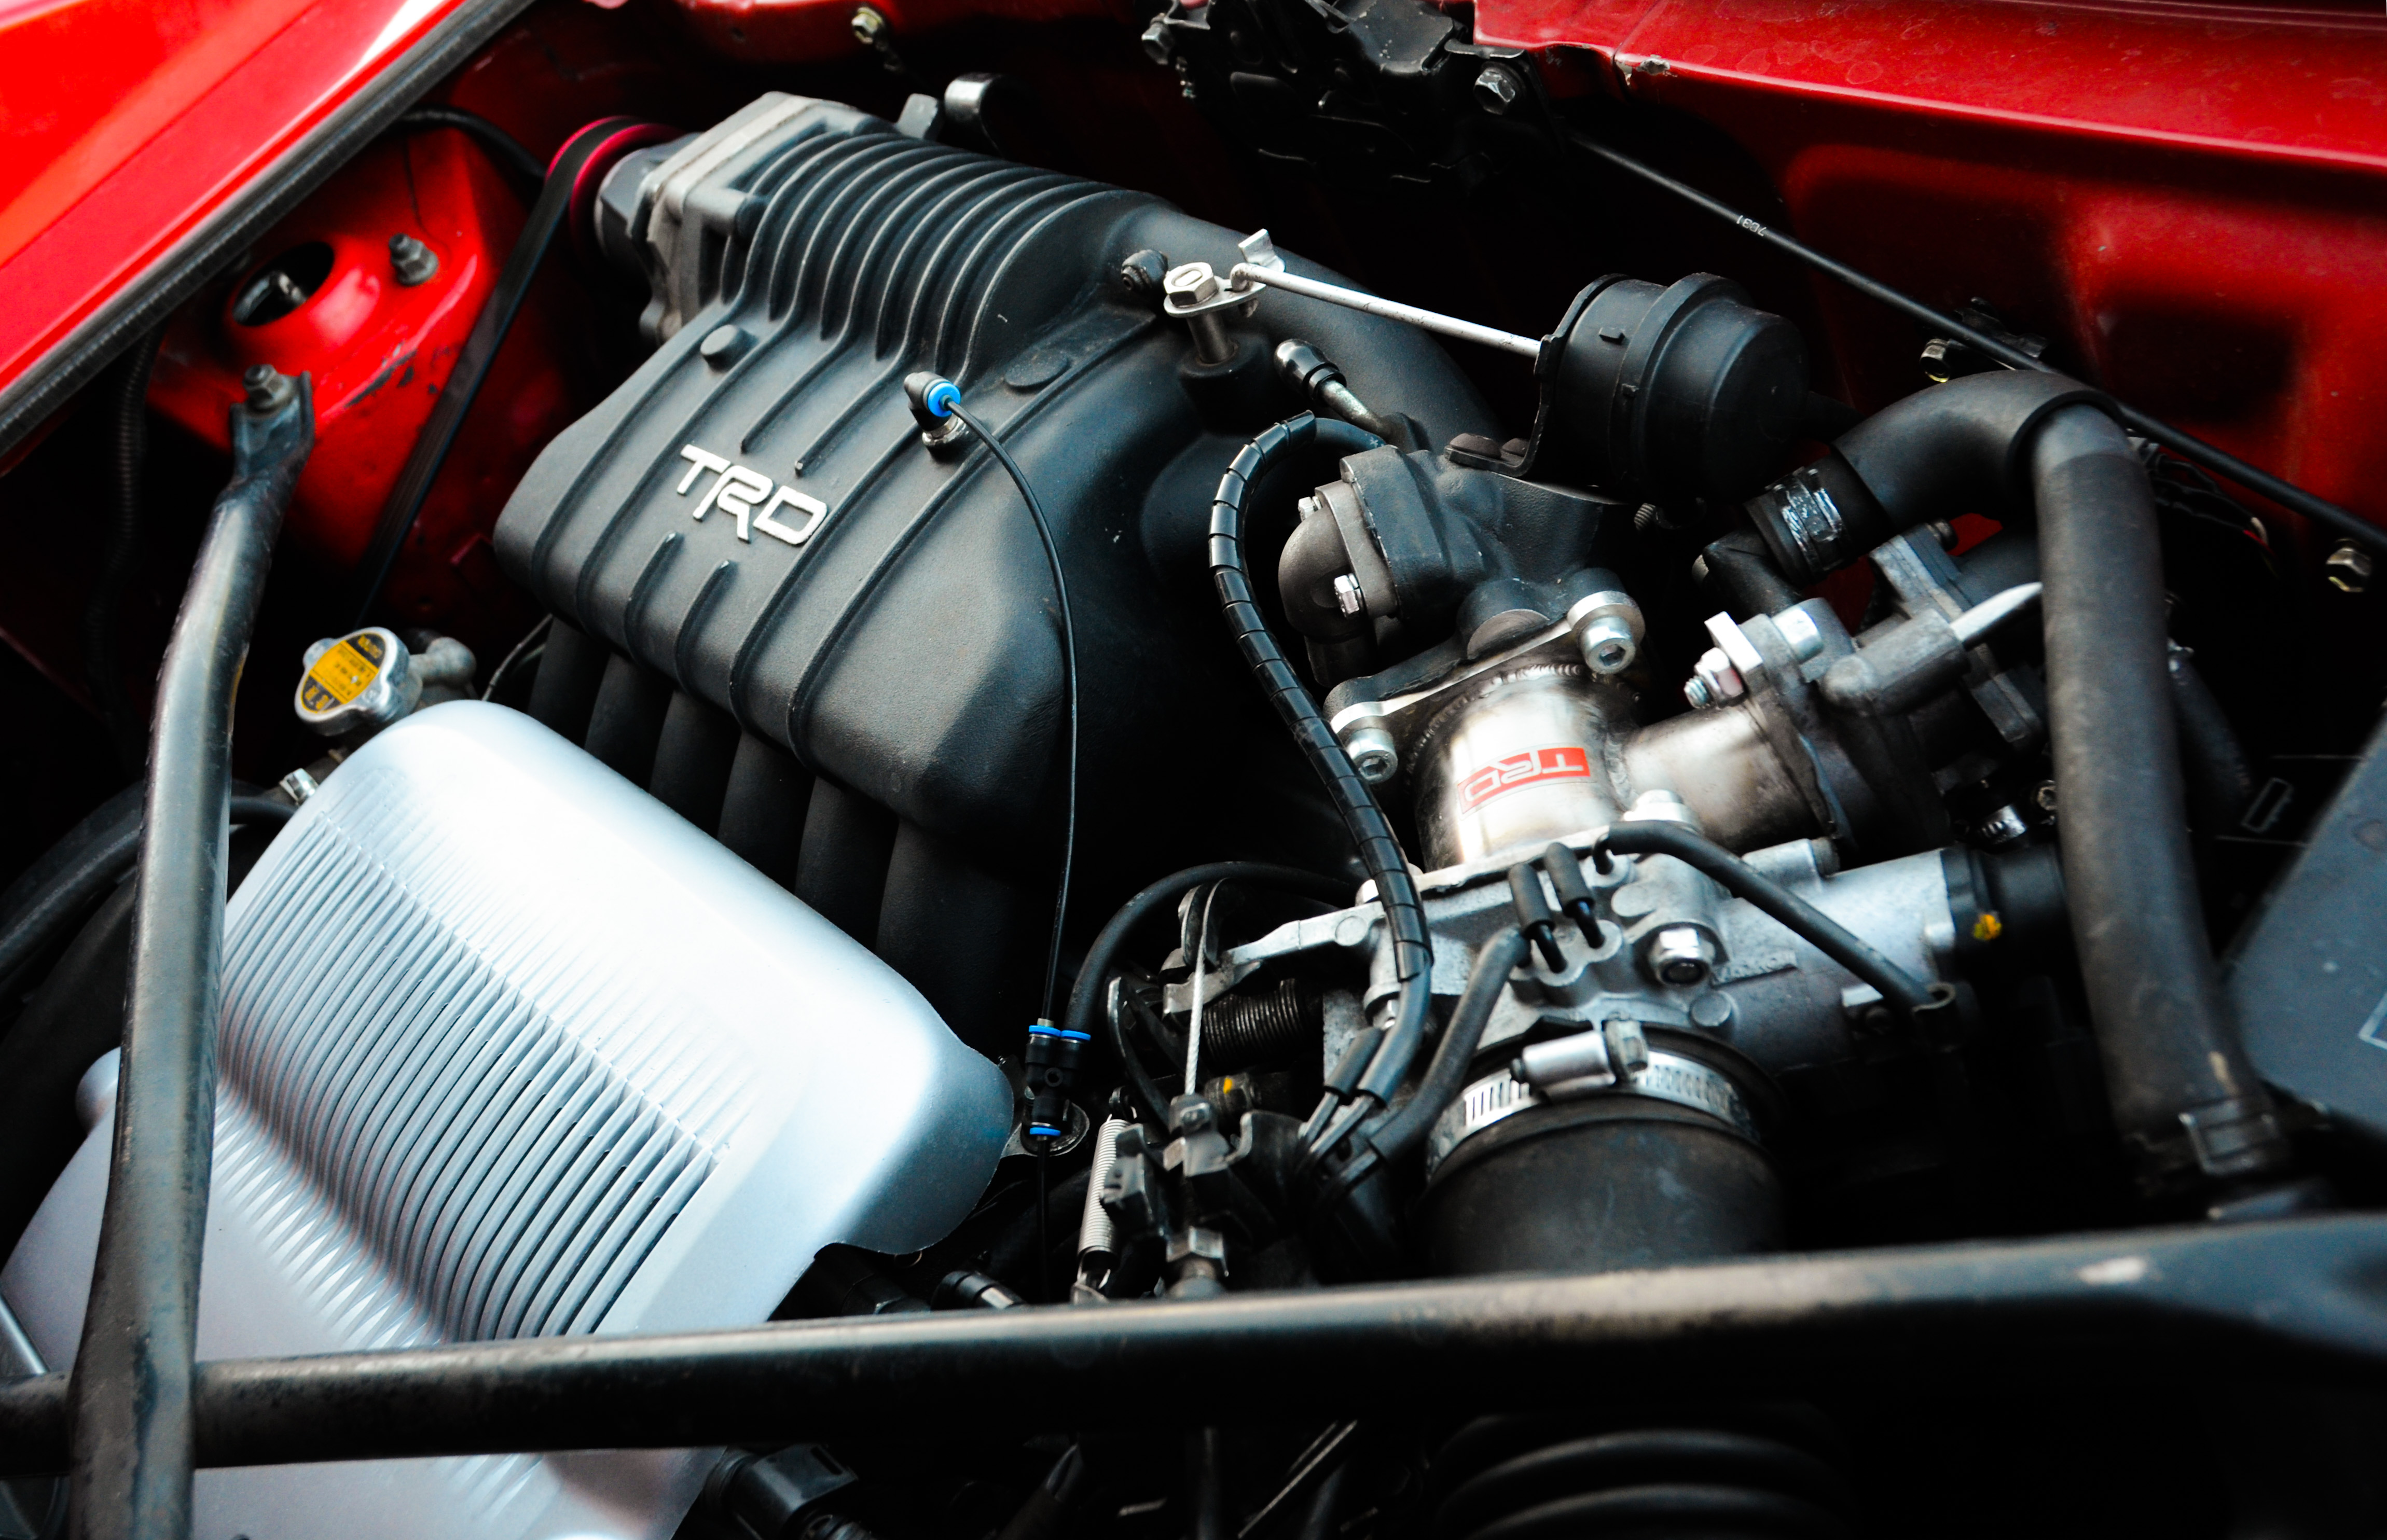
    Here's the Turbo for the swap 3VZFE TRD Supercharger to 3SGTE


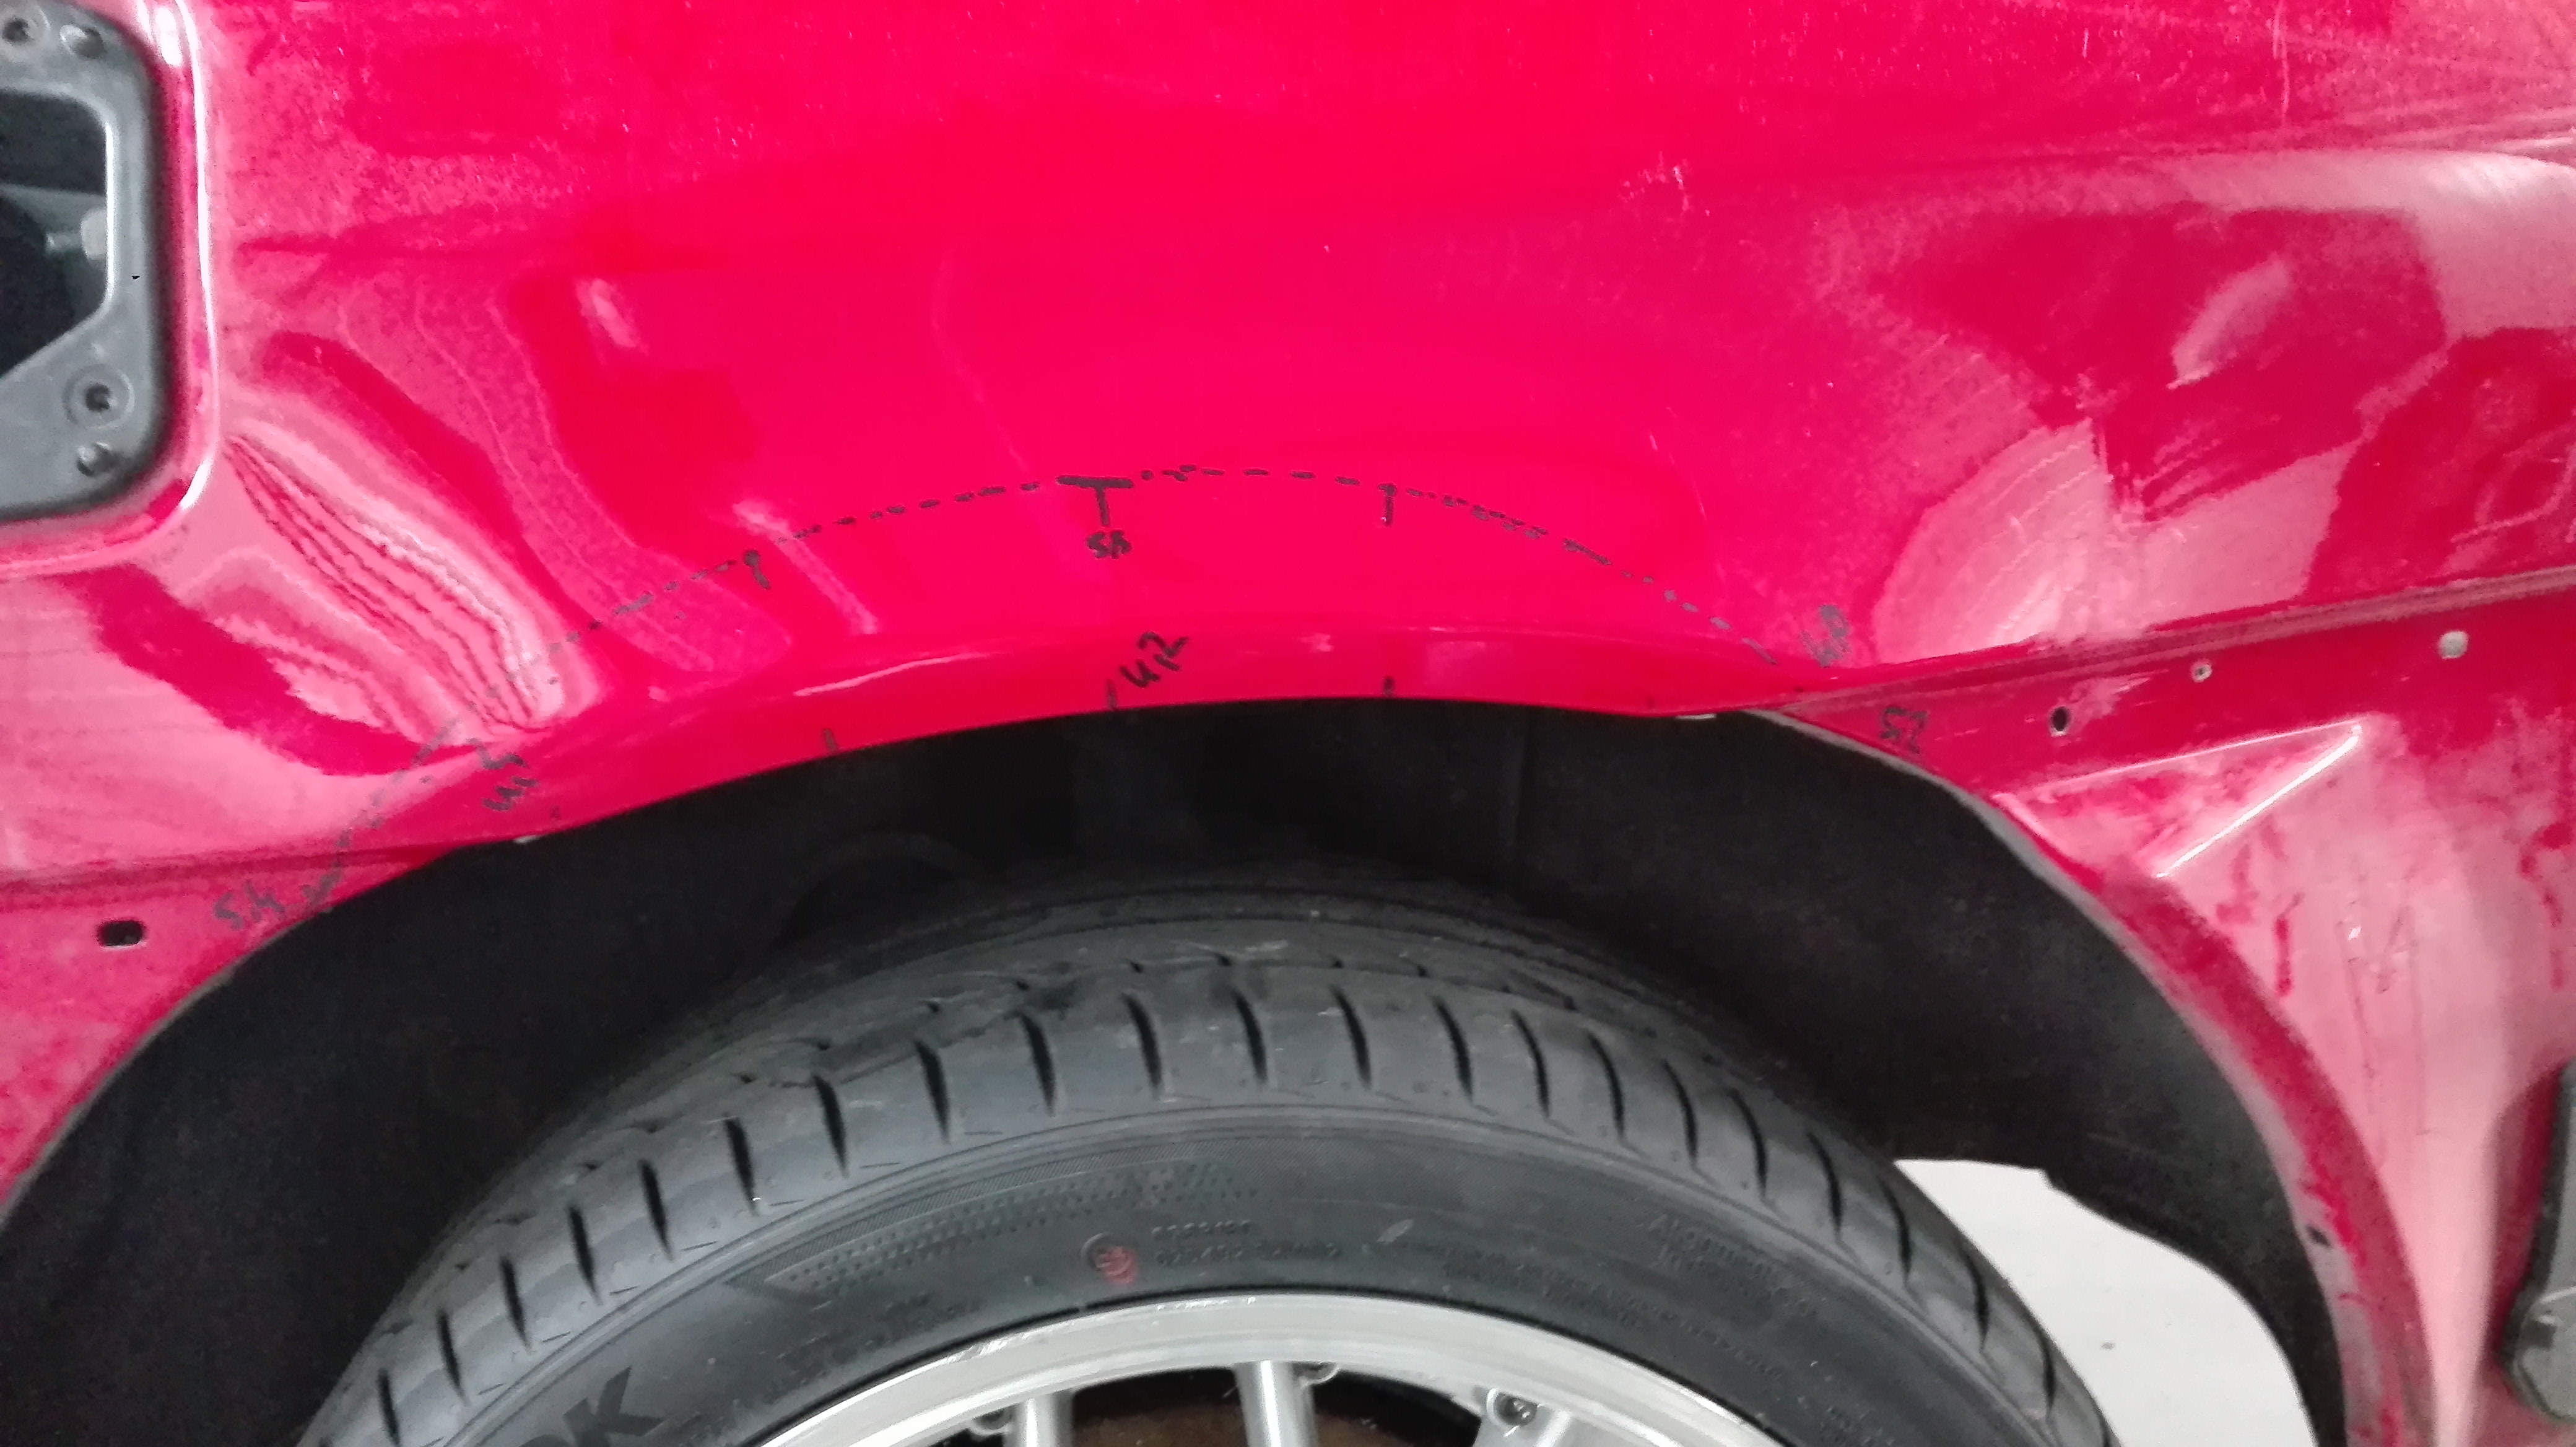
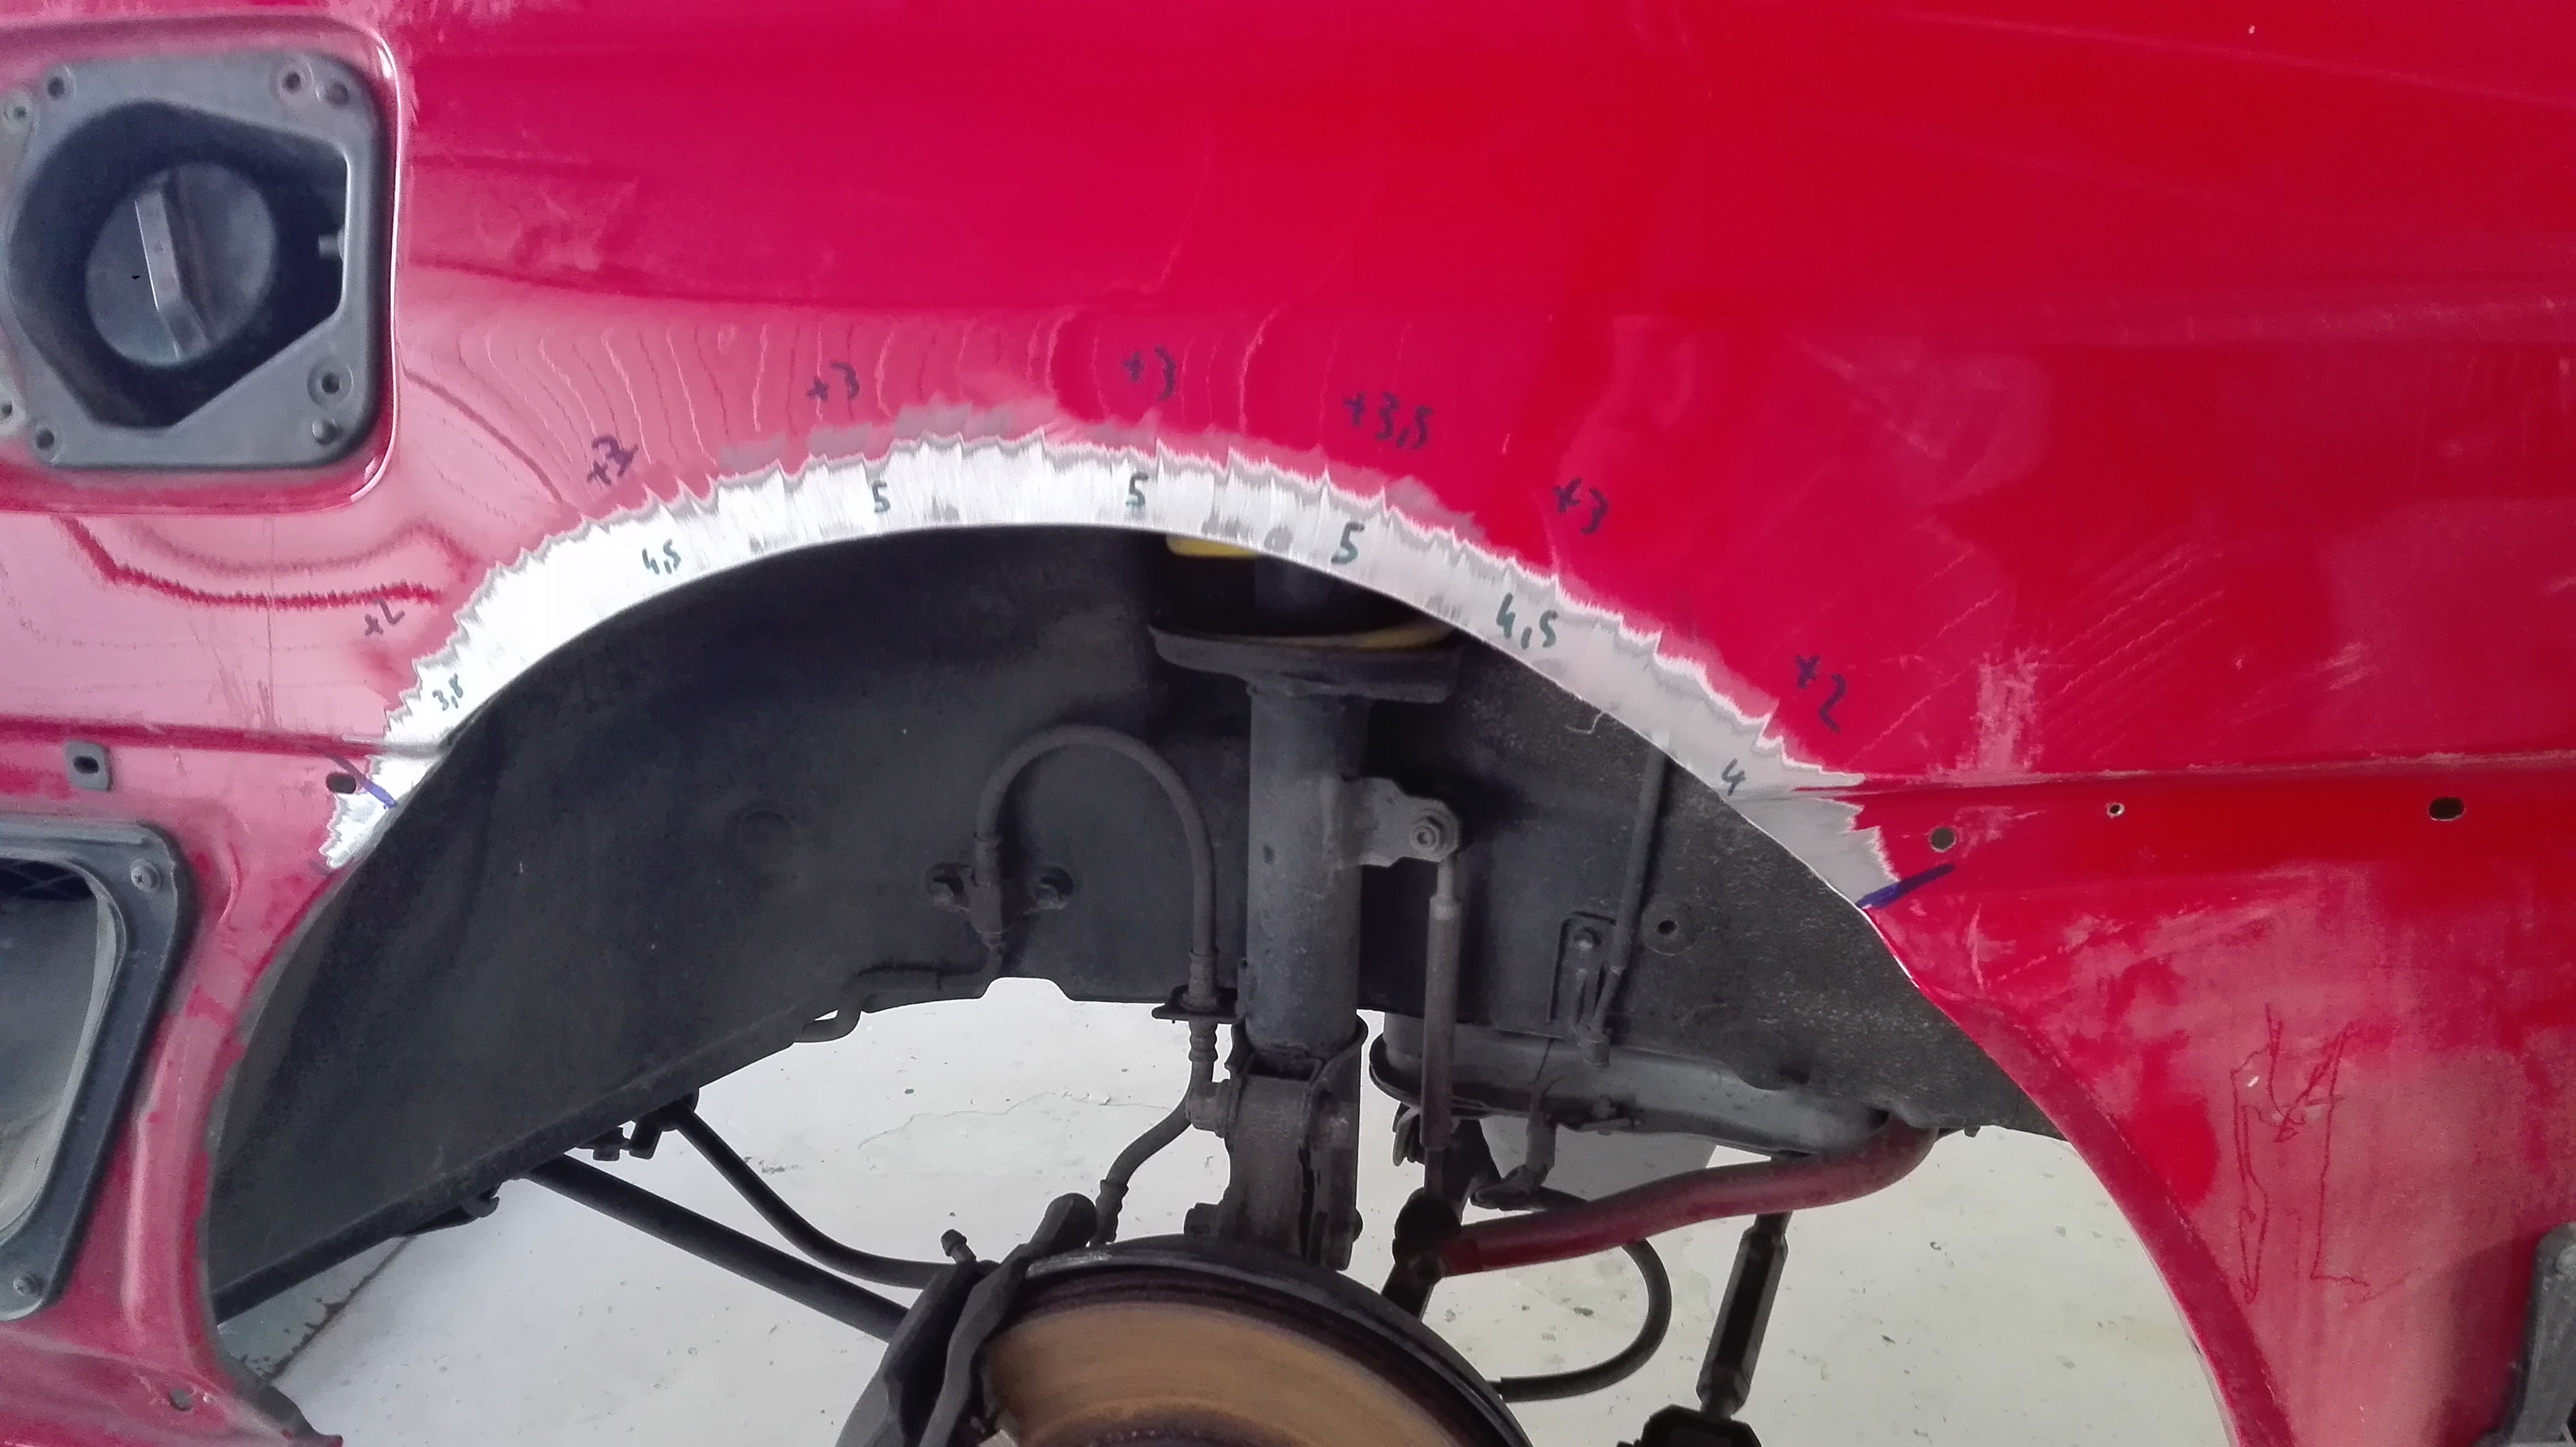
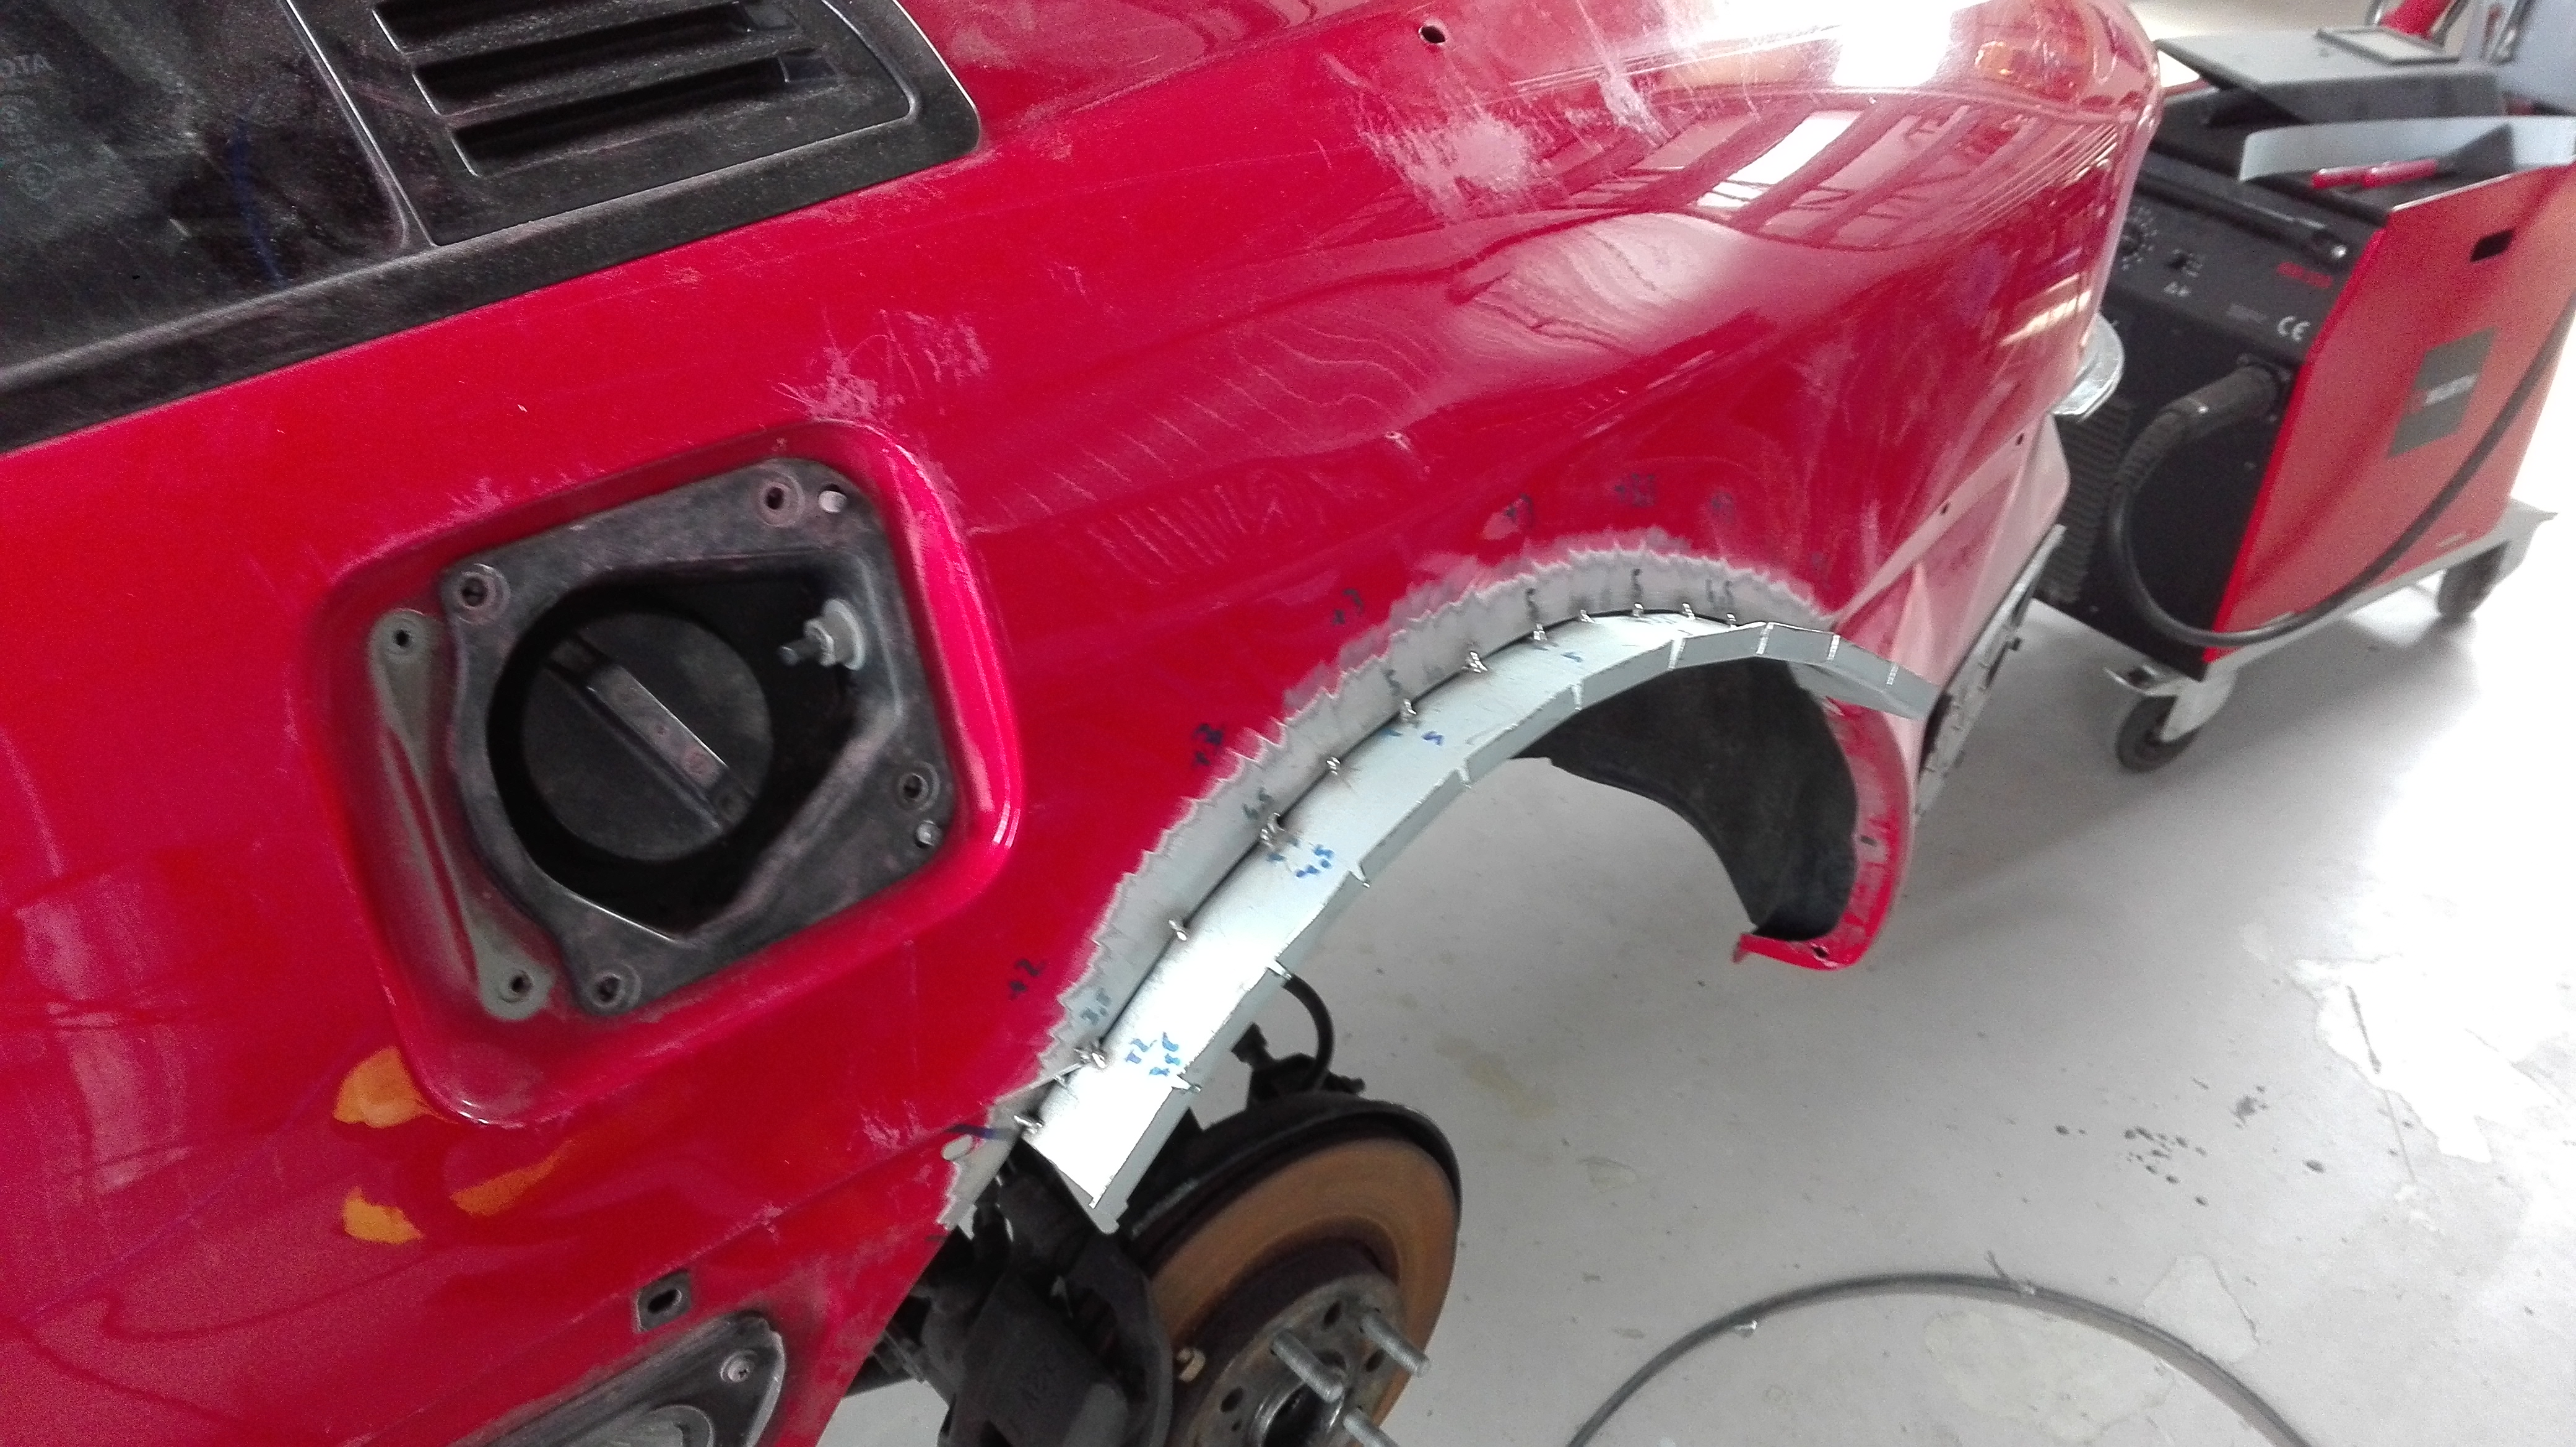
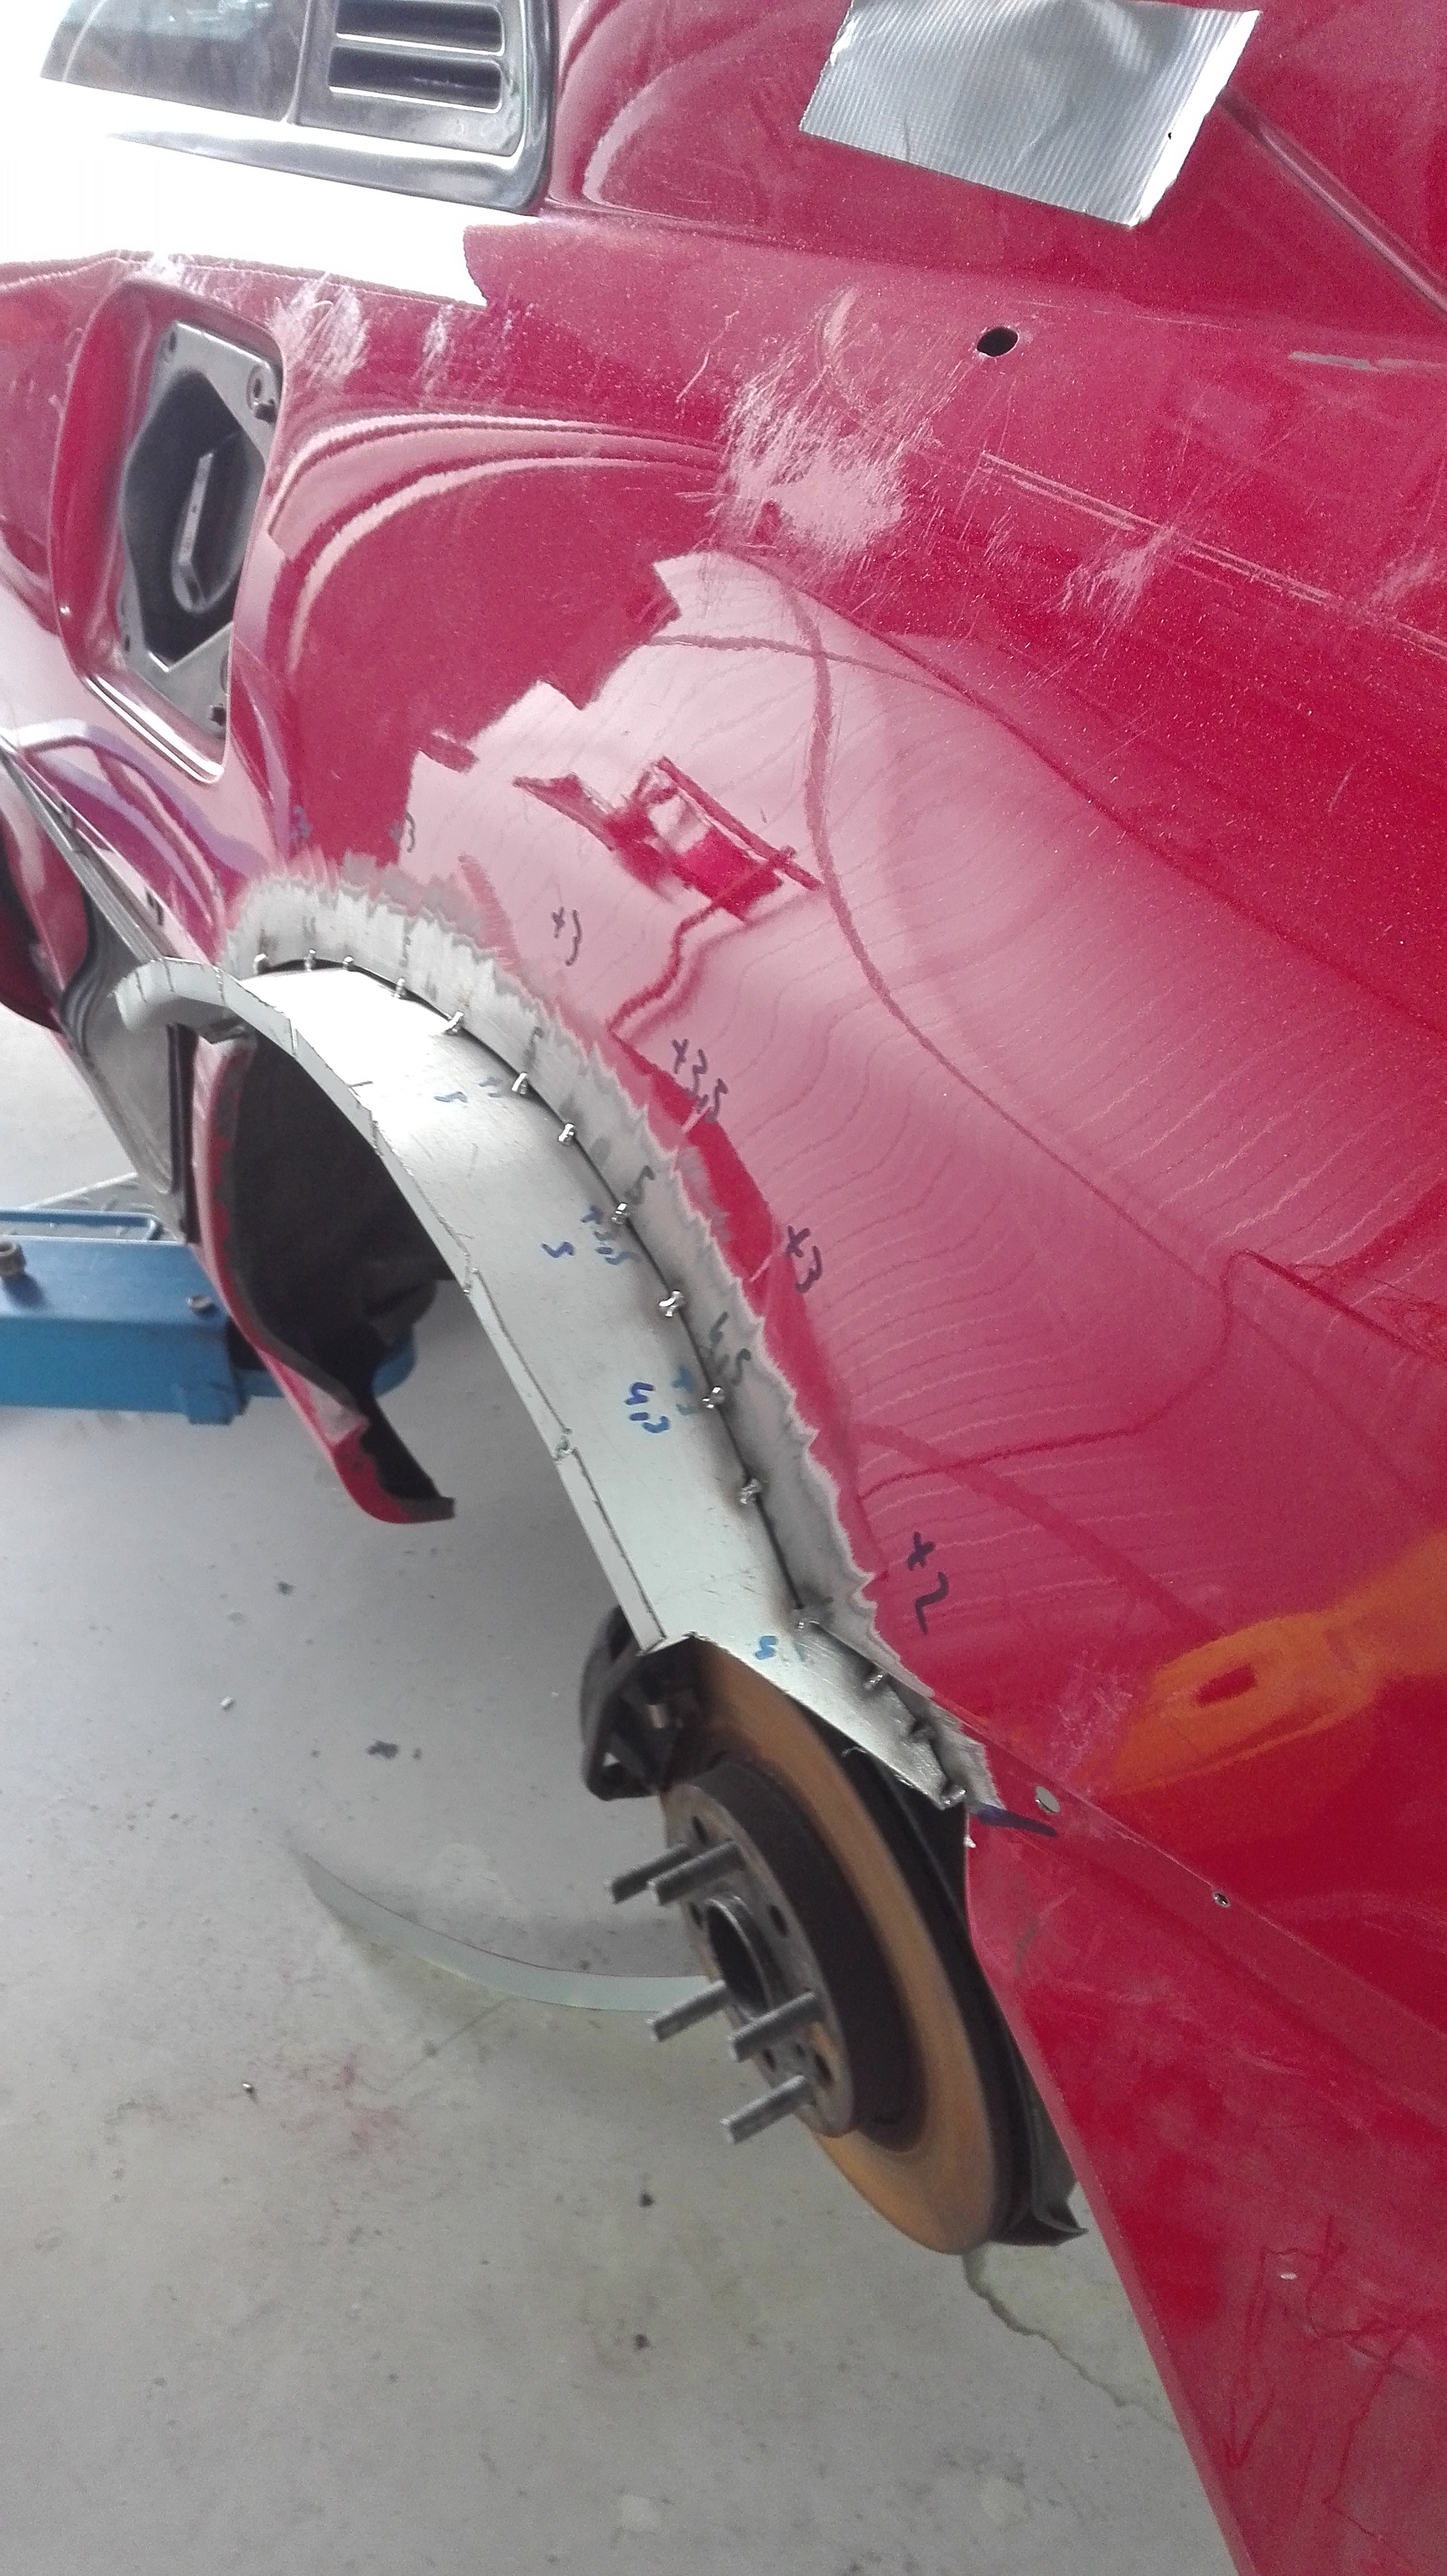
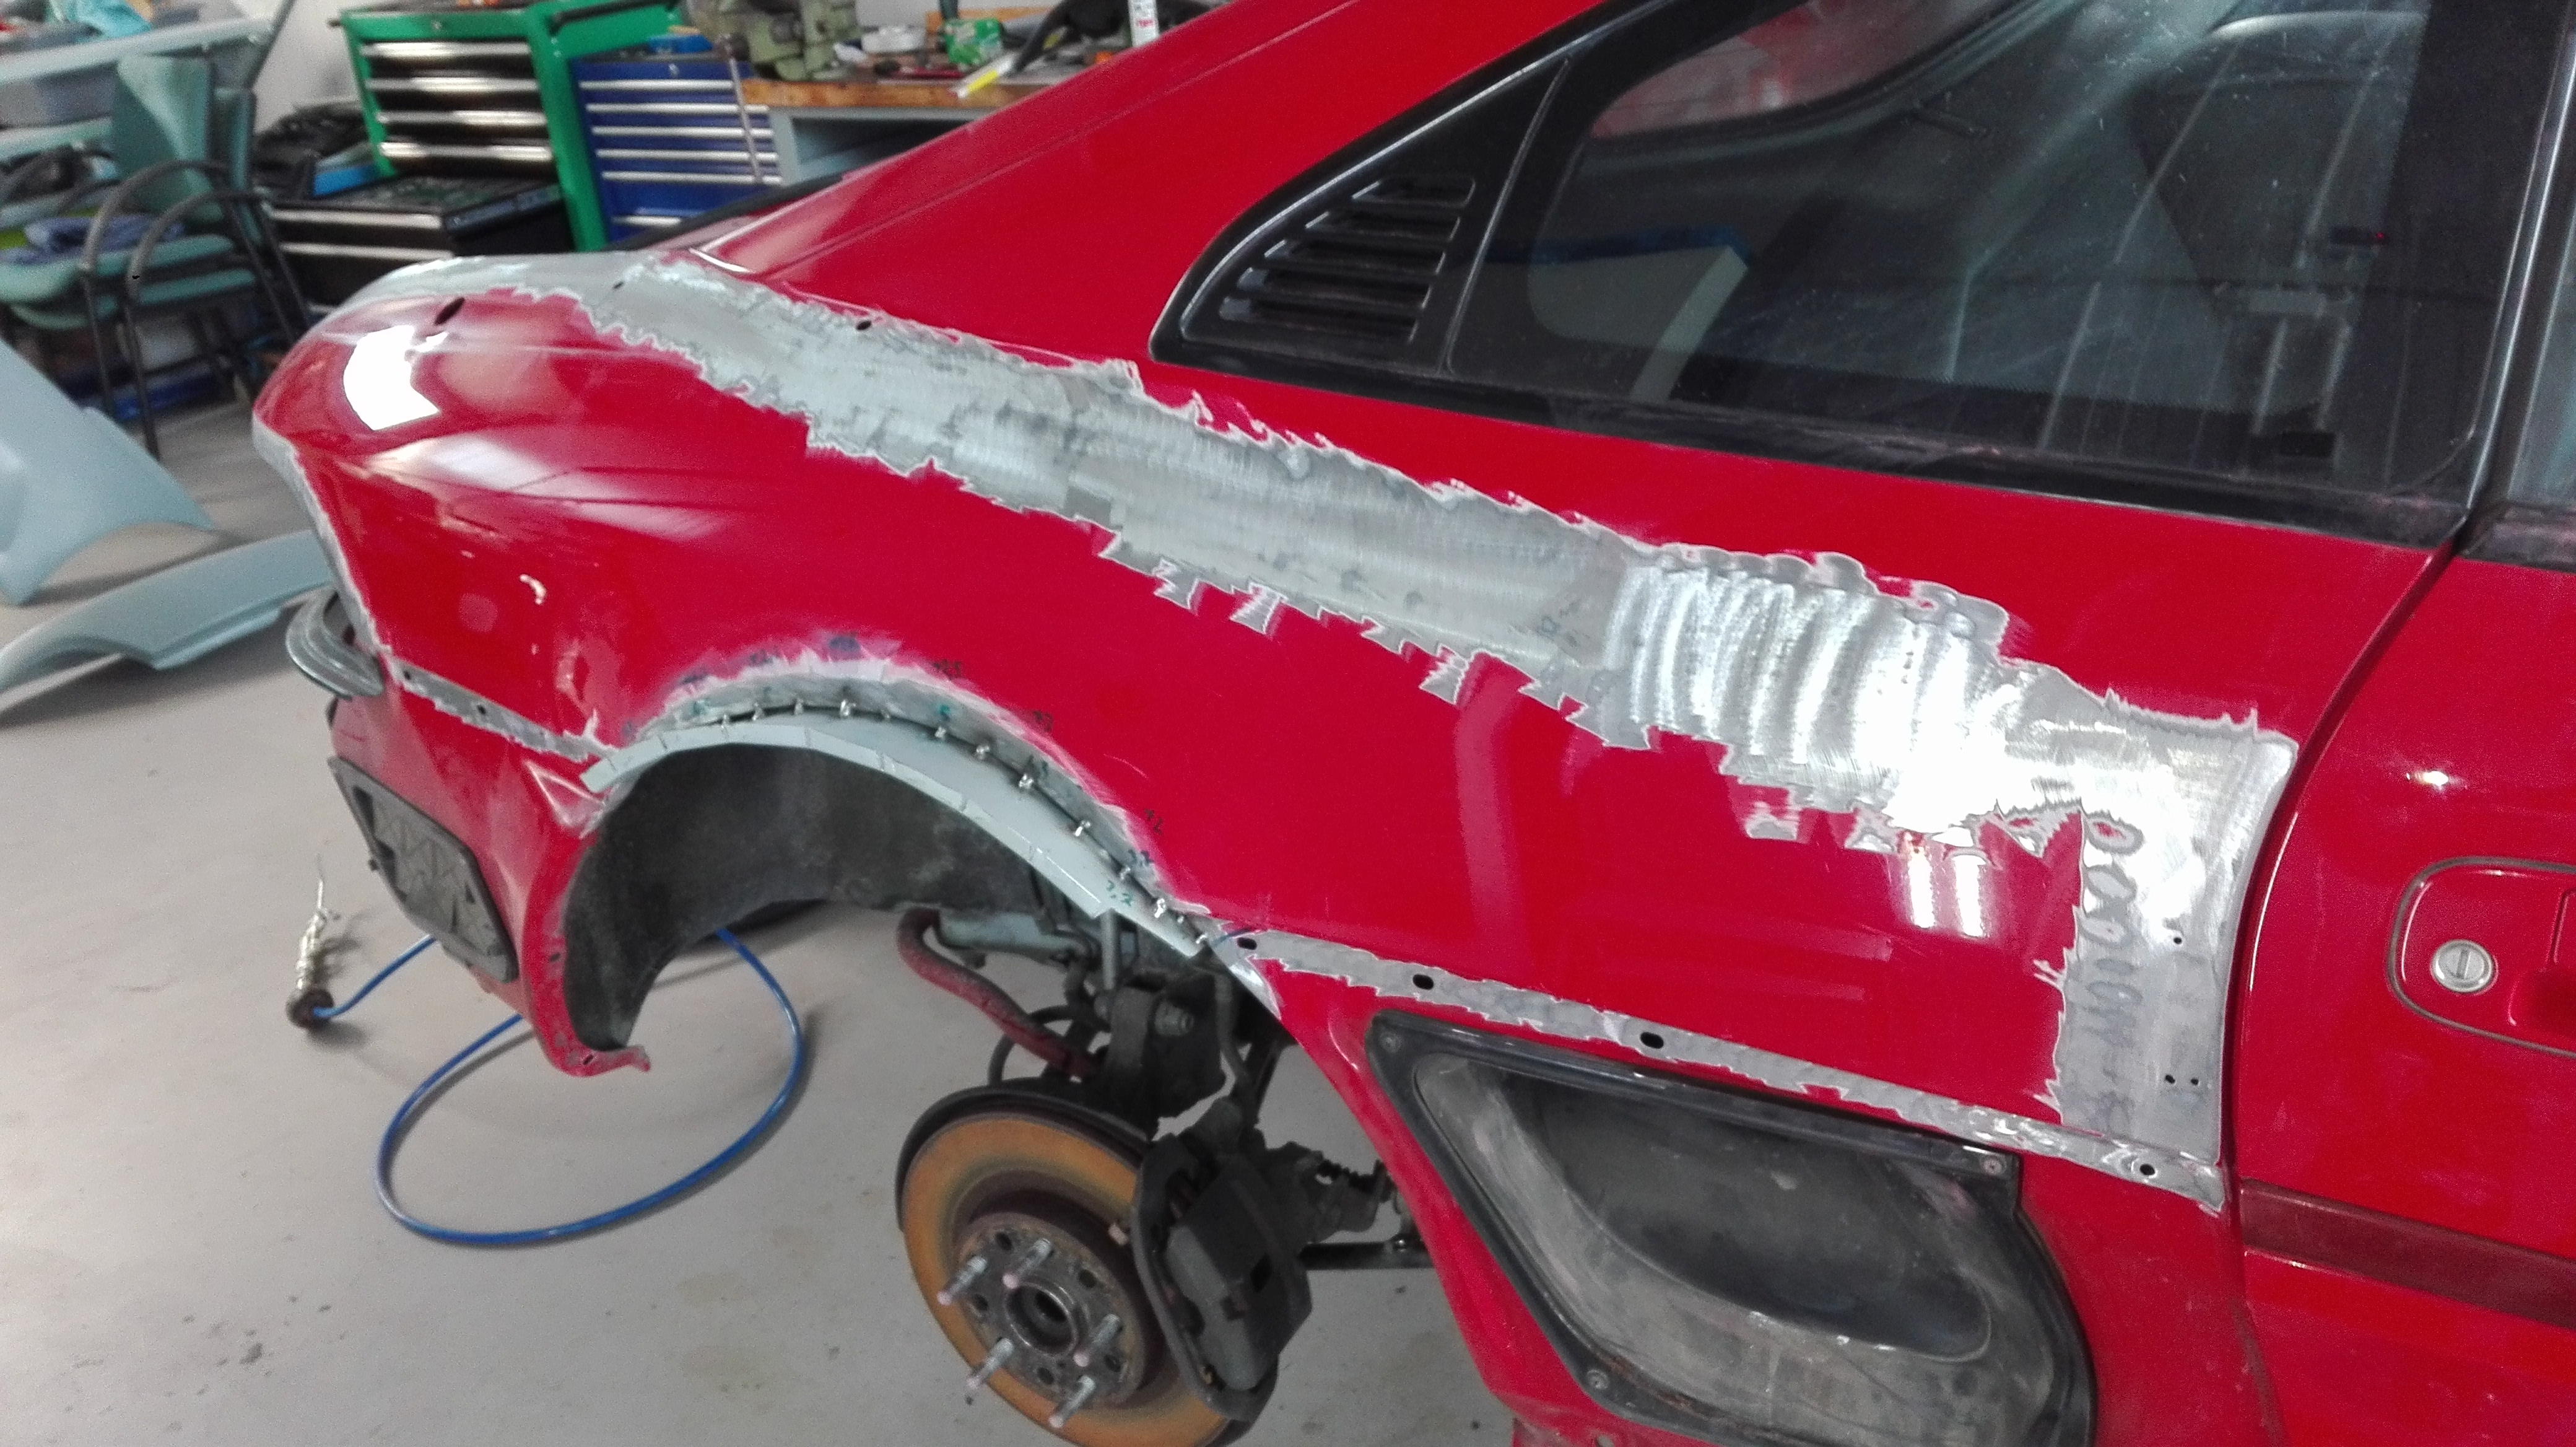
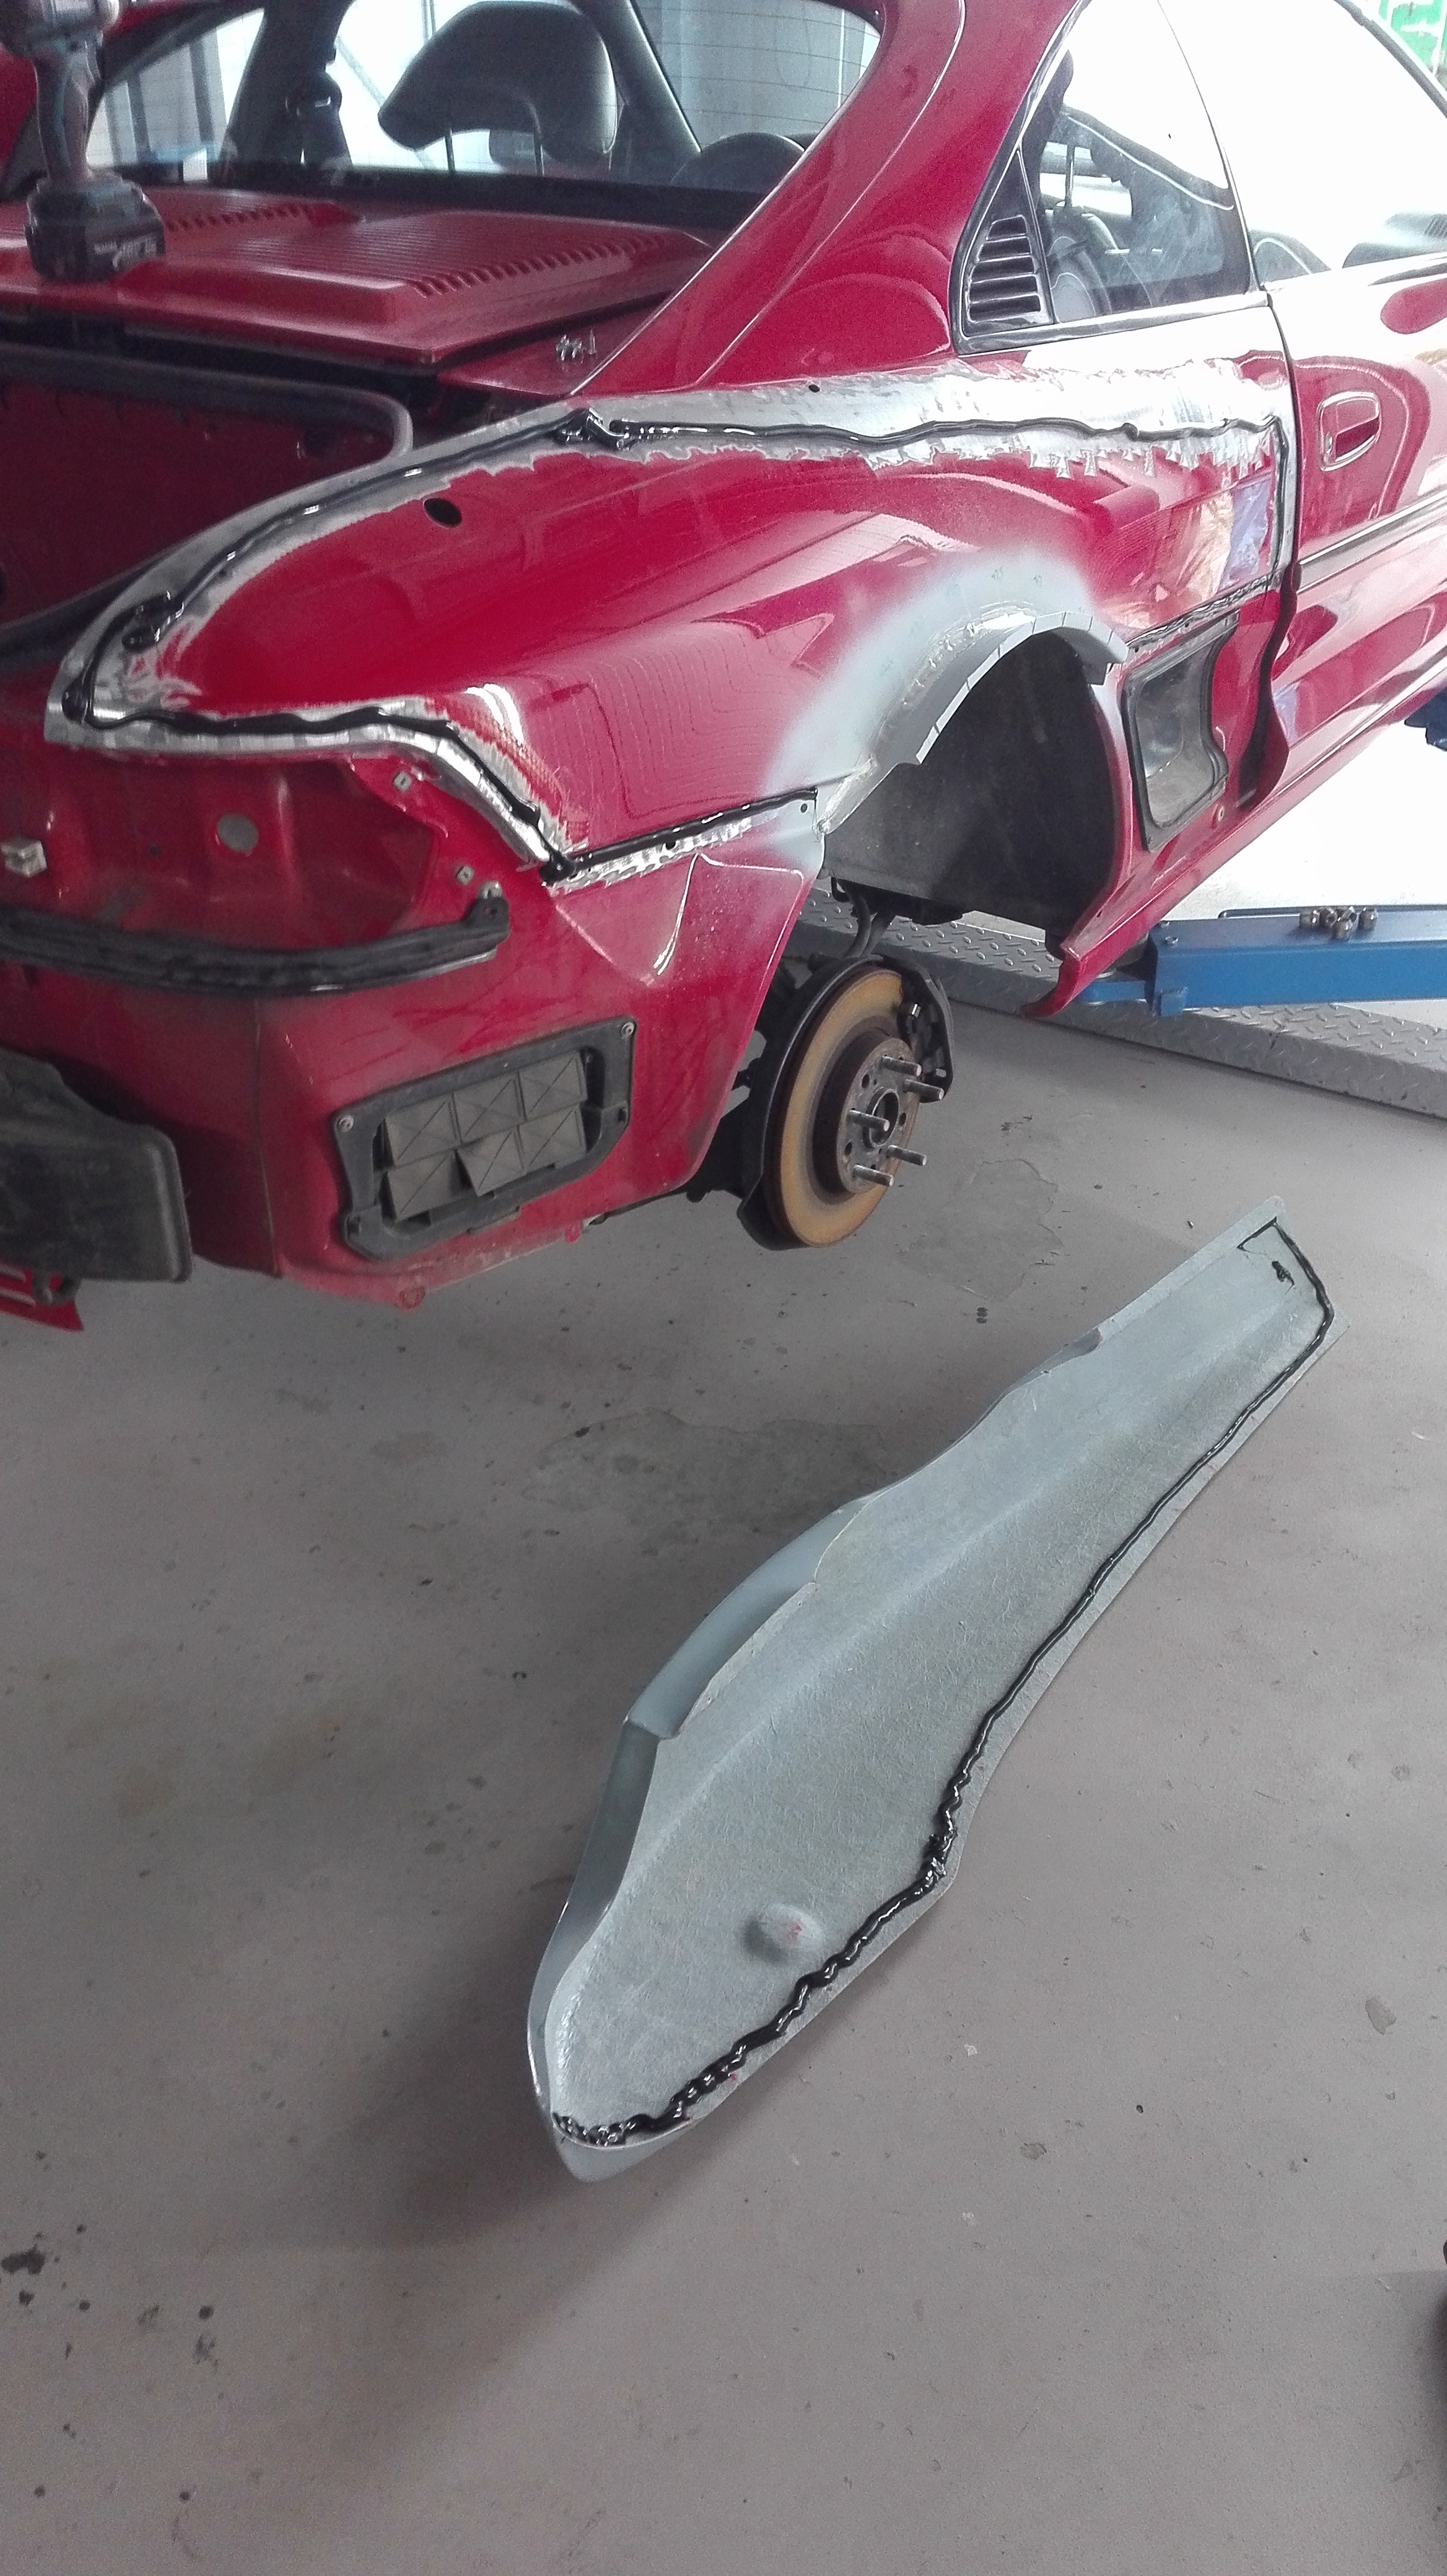
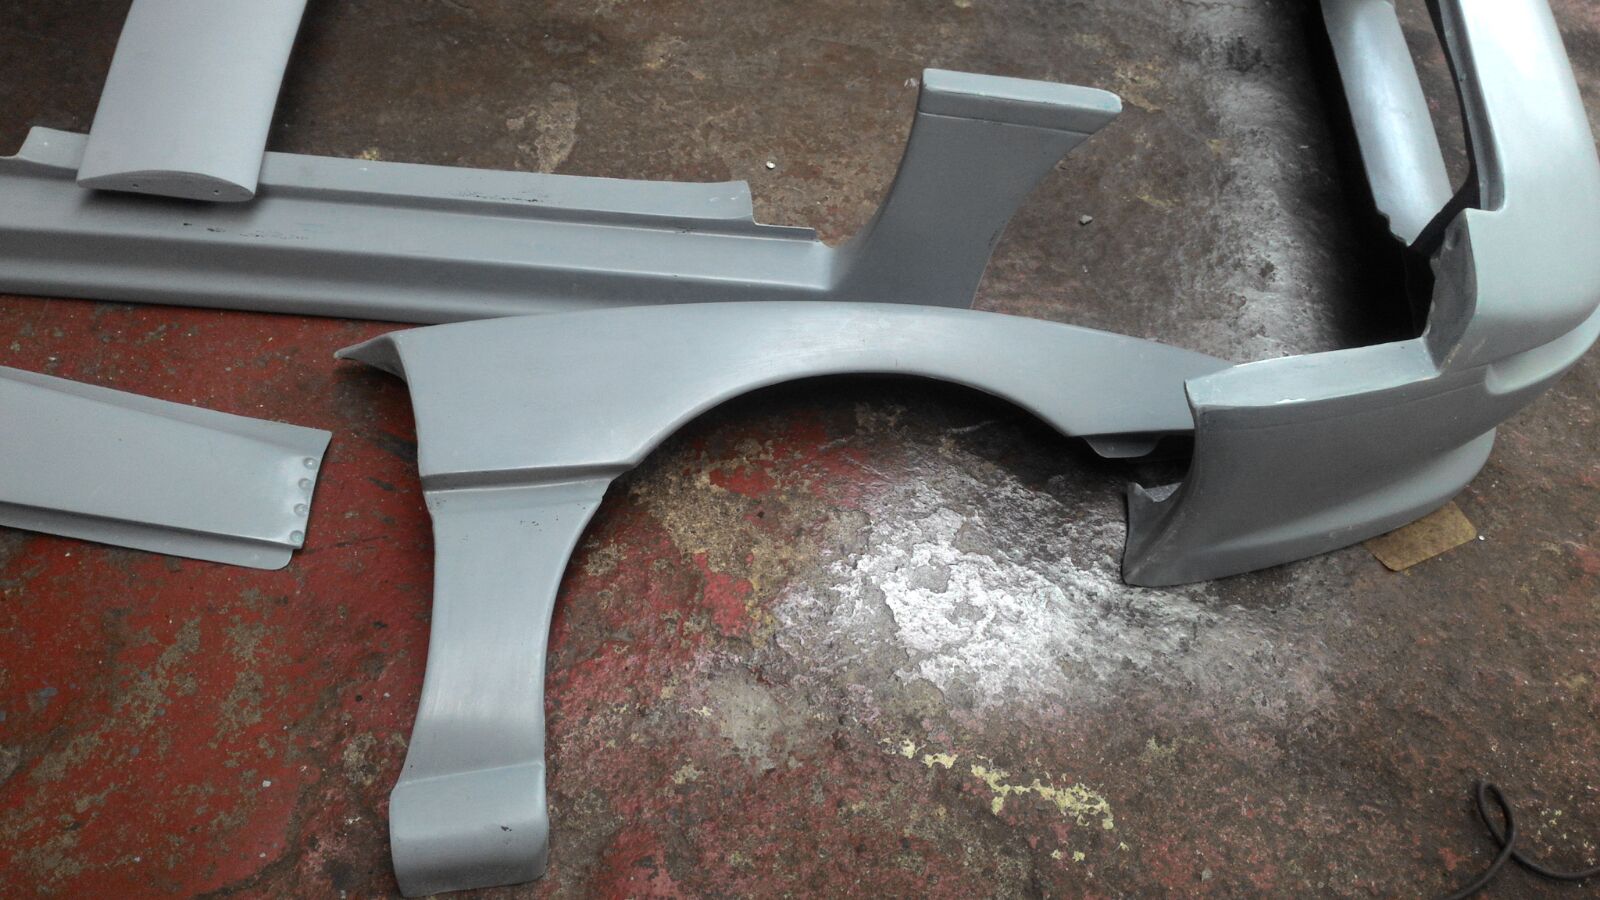
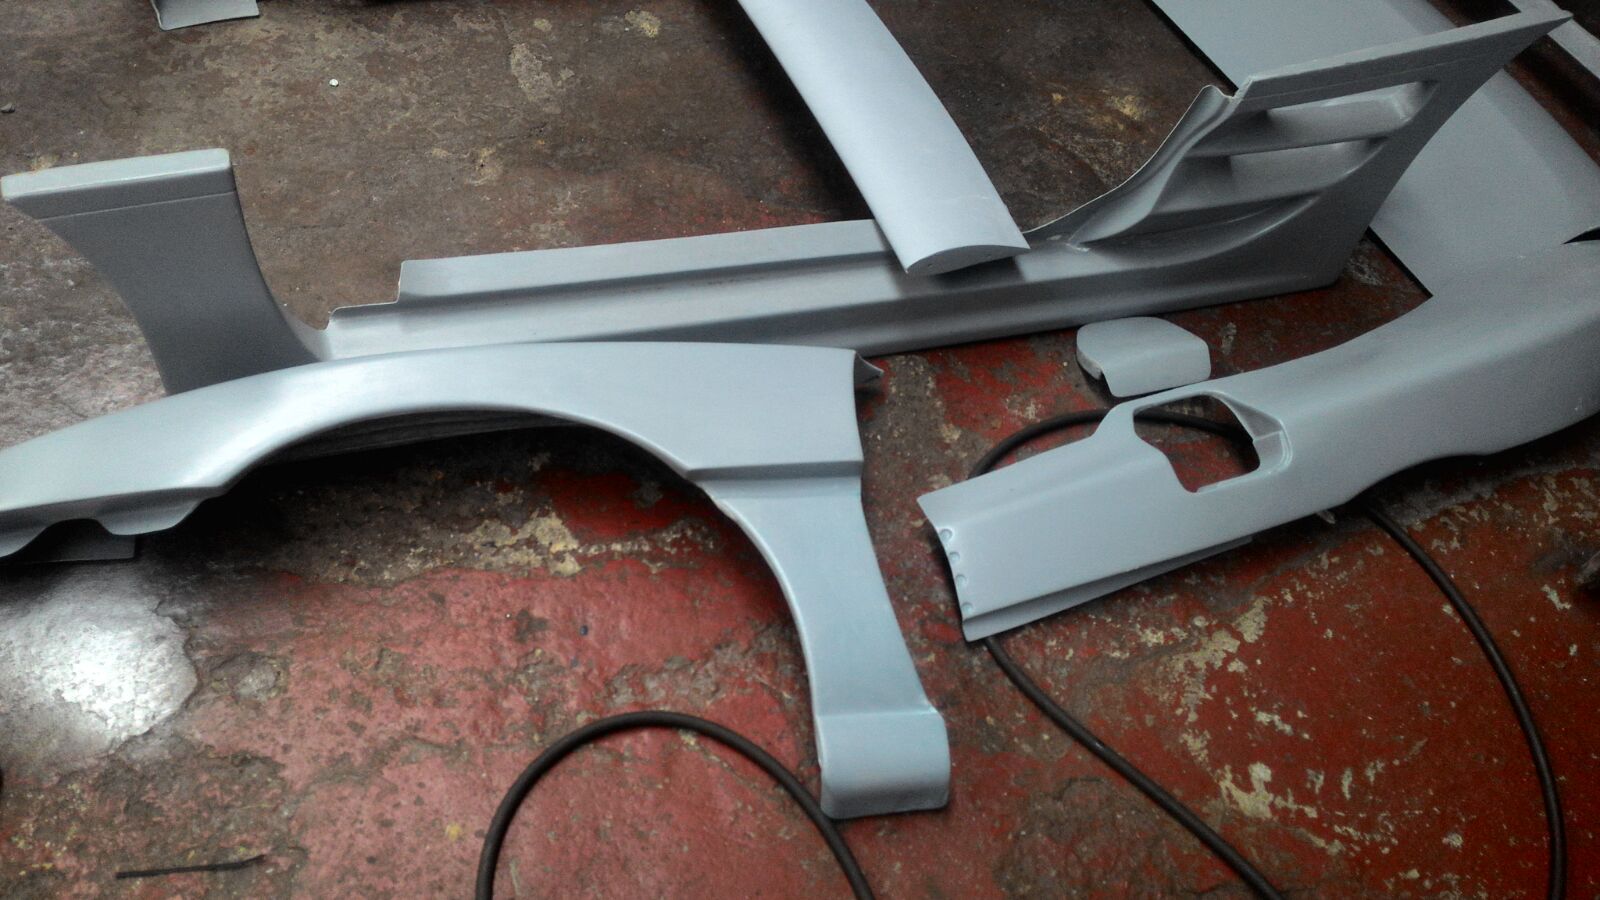
    But here's the interesting parts:


    this Friday i meet with Patrick to pick up the parts and then i will keep the pictures coming :)

  2. #2
    You won't be disappointed Philip, keep us posted with plenty of pics :thumbsup:

    “Where I'm going is not nearly as important as what I'm driving to get there.”
    ― Jay Leno

  3. #3
    Erm that kit is not going to fit on that car


  4. #4
    that red sw20 is a peach - love the colour coded exhaust cover.

  5. #5
    Yes got to love shiny red mr2s but I do love the TRD kit more :-)

  6. #6
    That's going to look the business when it's fitted.

    “Where I'm going is not nearly as important as what I'm driving to get there.”
    ― Jay Leno

  7. #7
    Well on the train trd kit on its way . :) only thing this time I got go in Some thing bigger then a mr2 . Lol

  8. #8
    Quote Originally Posted by headcase View Post
    Well on the train trd kit on its way . :) only thing this time I got go in Some thing bigger then a mr2 . Lol
    That would have been one hell of a roof rack Pat :laugh2::laugh2::laugh2:

    “Where I'm going is not nearly as important as what I'm driving to get there.”
    ― Jay Leno

  9. #9
    Numberplate cover on the red one says it all: Damn! :) The red SW20 is beautiful!

    What red colour is used on the red one? Is it standard Toyota Super Red?

  10. #10
    Getting started:


    Test fitting the Kit:


    Measuring where to cut the rear fender to enlarge the wheel arch and make room for the wider tires.


    cutting the outer sheet metal - no pics of cutting the inner metal.


    Removing the paint for welding inside and outside


    forming the new inner wheel arches:


    Cutting the inside trim line:


    spot welding:


    bending the outside to make it stronger so it can support the fibreglass outer wheel arch in the future.
    I measured the necessary lengths when i test fittet the rear quarters.


    Cutting it into shape so the fibreglass rear quarter fits over it:


    Spray some anti rust protection on and seal the welding spots so there will be no bad surprises in the future


    grind down paint to have a surface for the body sealant. The surface adhesion is better on the blank metal.


    Applying the body sealant to the panel and the body


    Now i applied the panel to the body and secured it with screws. After a while i startet to replace the screws with rivets where they stay permanent


    Inside of the wheel arch:


    Also applied anti rust protection here and then put body sealant on.


    17x9.5 Offset 32 OZ Futura wheel with 15mm spacer fits very well on the rear:


    #Widebody

Page 1 of 2 12 LastLast

Posting Permissions

  • You may not post new threads
  • You may not post replies
  • You may not post attachments
  • You may not edit your posts
  •